
Or why not make up a quick set for a gift for a friend? You can have these done easily in under an hour. To begin, this is the list of materials you will need (not all are essential but they are a great help for sewing quickly!)

You can substitute the ruler & rotary blade with a cut out pattern and sewing scissors. The fabrics above are just coordinating scraps I had left.
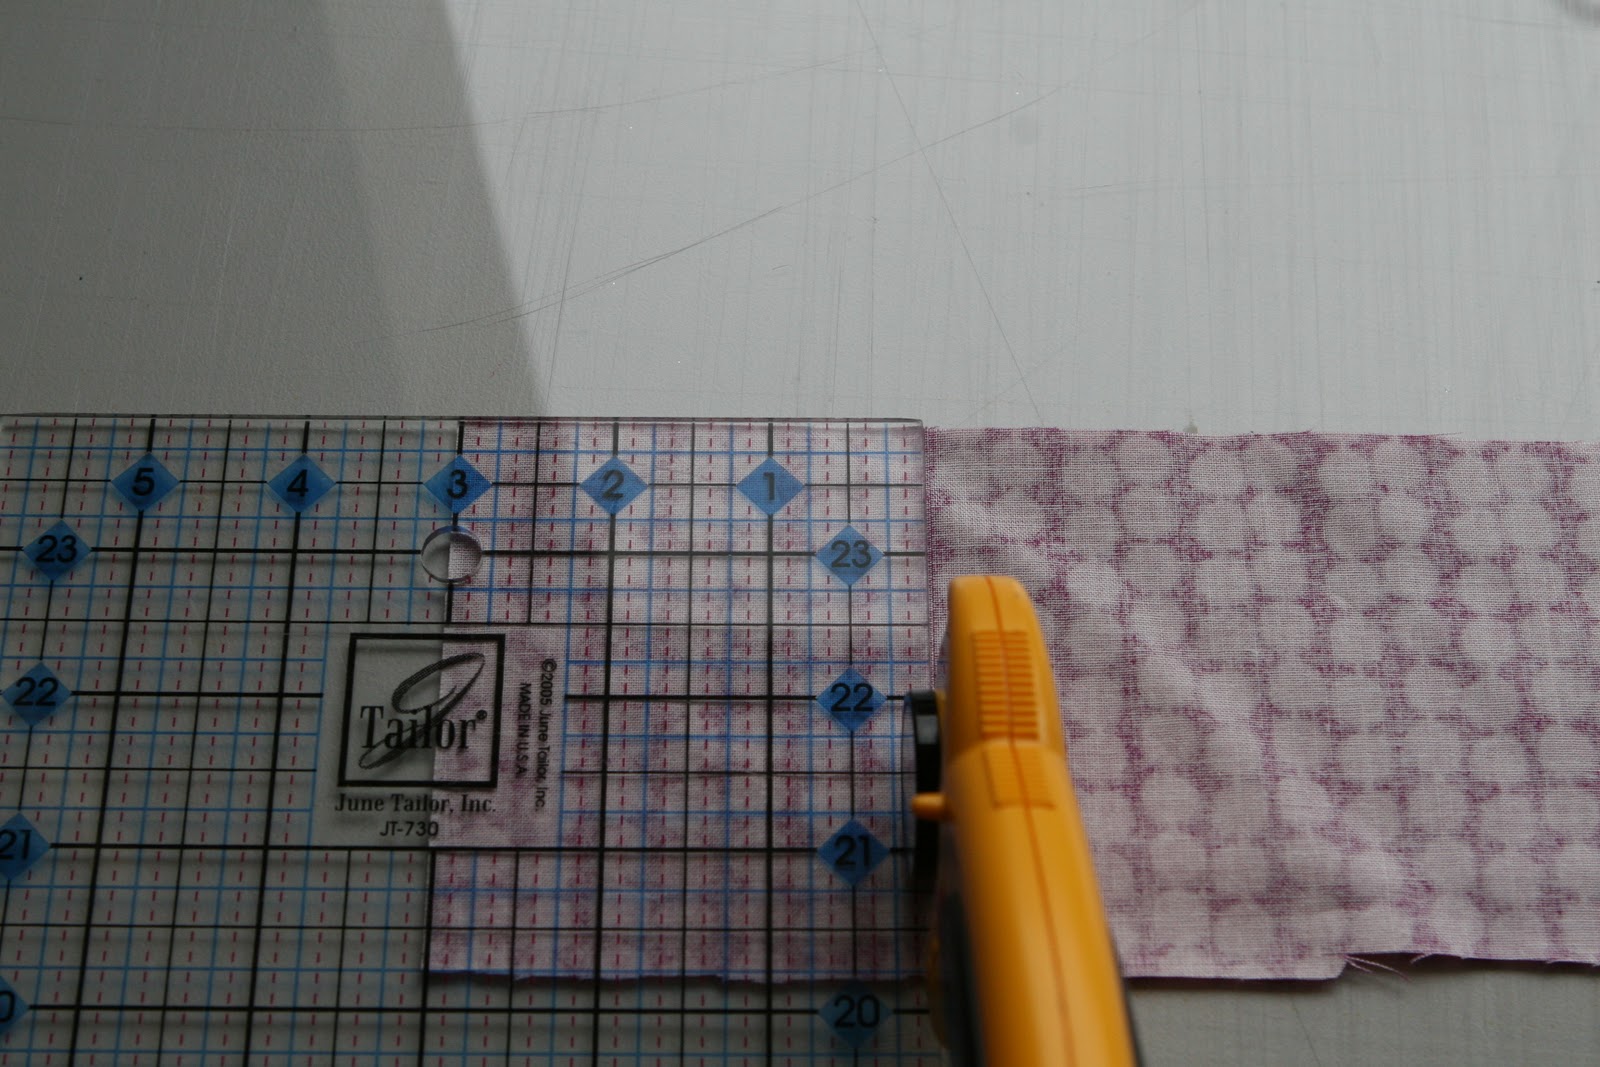
Using your ruler & blade cut out 4 equal size sqaures from each of the four fabrics. My sizes were 3 x3 inches (5cm x 5cm). If you are using a ruler for the first time, make sure your fabric is lined up straight down the left hand side then move your ruler to your chosen measurement with excess fabric on the left and cut. Turn the cut fabric strip around and trim the off the excess

If you are making a set of 4 coasters you will need 16 little bitty bits of fun to piece together & play around with until you have your desired Feng Shui

Once you have decided on your layout, fold two pieces right side to right side (pin) and sew together.


Do that for all 16 pieces. Iron out your seams (these are the little flaps that are left once you have finished sewing and your article looks far prettier when they have been ironed flat, but not an essential if you are in a hurry!)
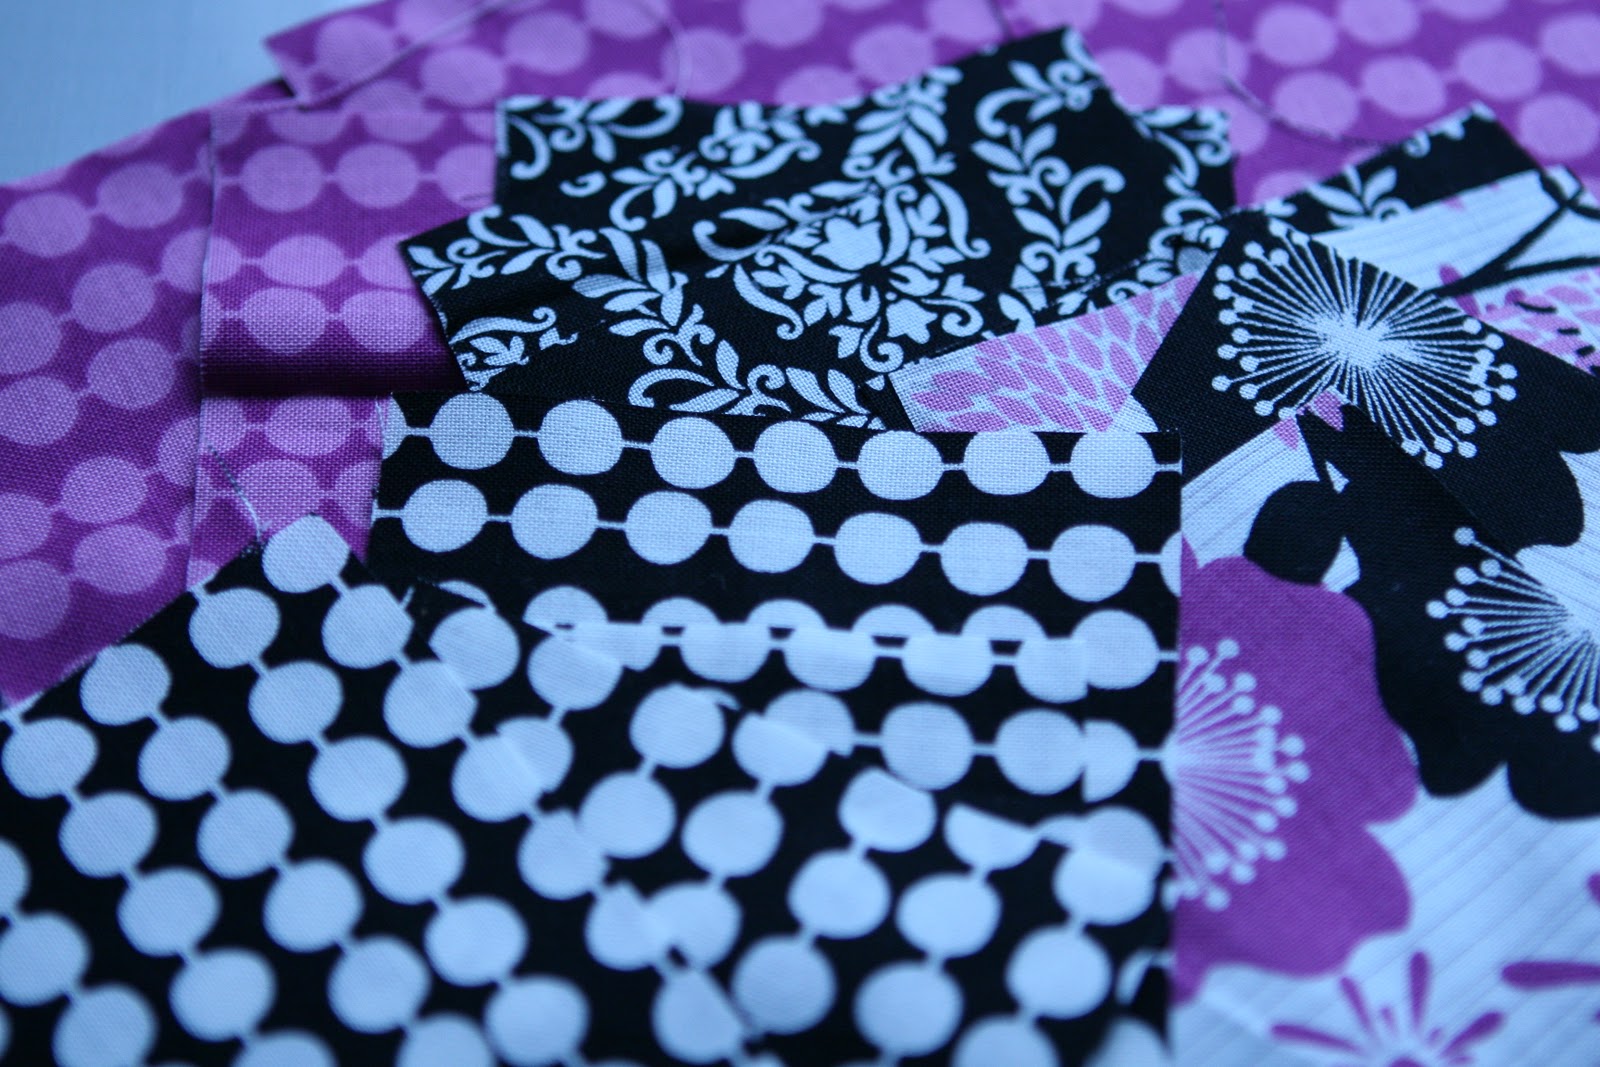
Place two sets together, right side to right side, and sew once more


And now you should have something like this

To make things simpler, measure out your square now and cut a backing piece & a piece of lining to go in between I used a medium weight lining and my square measured 5.25 inches (13.5cm)


Place the patterned piece face up, the lining on top (face down if necessary) and the backing on top of that

Now pin and sew turning your corners as you go around (by leaving your needle down and lifting your presser foot up), you may find it easier to have your lining on top or the other way around, just try it and see which works best. Leave a small opening about 4cm wide.


Turn it inside out and push the corners out as much as you can using a rounded tip ( I have an embellishing tool which works perfectly!) And now you will have this.

Now take your co-ordinating thread and sew as close as you can to the edge (Tucking in the opening) and turning your corners as mentioned above.
Then once you have completed a full squares move your presser foot so that the right hand side is lined up against your previously sewed line and sew around once more. Repeat that for the third time. You can keep on going around, but I quite like the look of 3 lines and it get's quite tricky near the middle!


Trim off all those little bits of thread and ta daa! You have your amazing set of designer coasters!
Time for a cuppa!


Love it! So easy to follow and I loved how you explain how to do the little things us beginners need to know! Will be getting some lining and whipping these up soon :) Paula x
ReplyDeleteLove this! Nice and simple, thanks!
ReplyDeleteLove this! Its funny coz I was thinking about making some coasters, lol.
ReplyDeleteohhh thats a good use of some scraps of fabric...think i need to get a new rotary cutter yours looks nice :-)
ReplyDeleteWelcome to bloggy land Kirsty! Great tutorial, well done. WOuld love to be able to share your blog stuff on our blog too - all attributed, of course. I also have a blog tutorial planned for next week using fat quarters for a home project...so will direct people keen to know where to buy fabric for it to your store! x
ReplyDelete